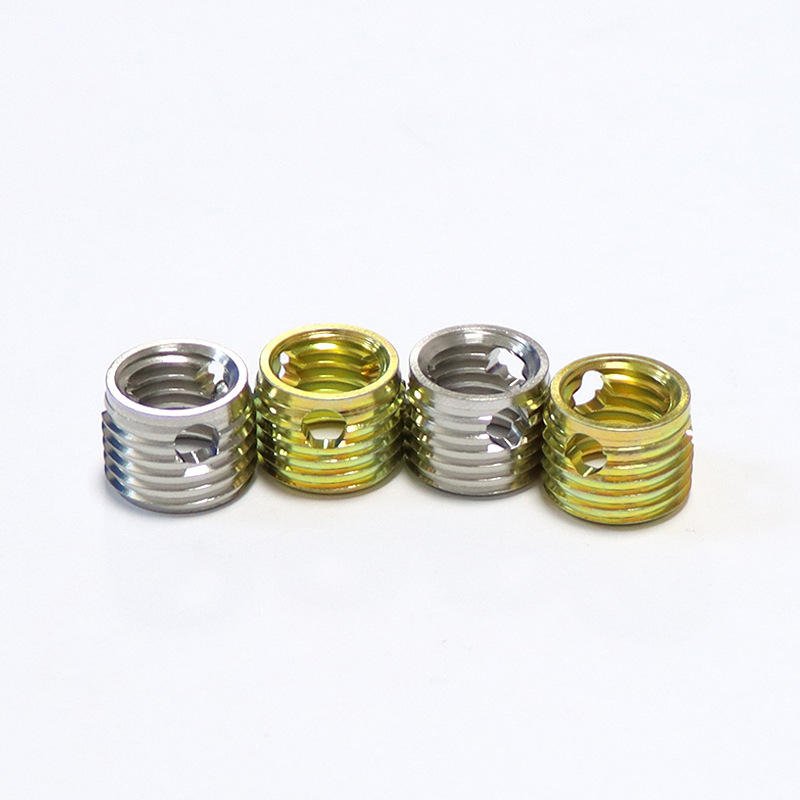
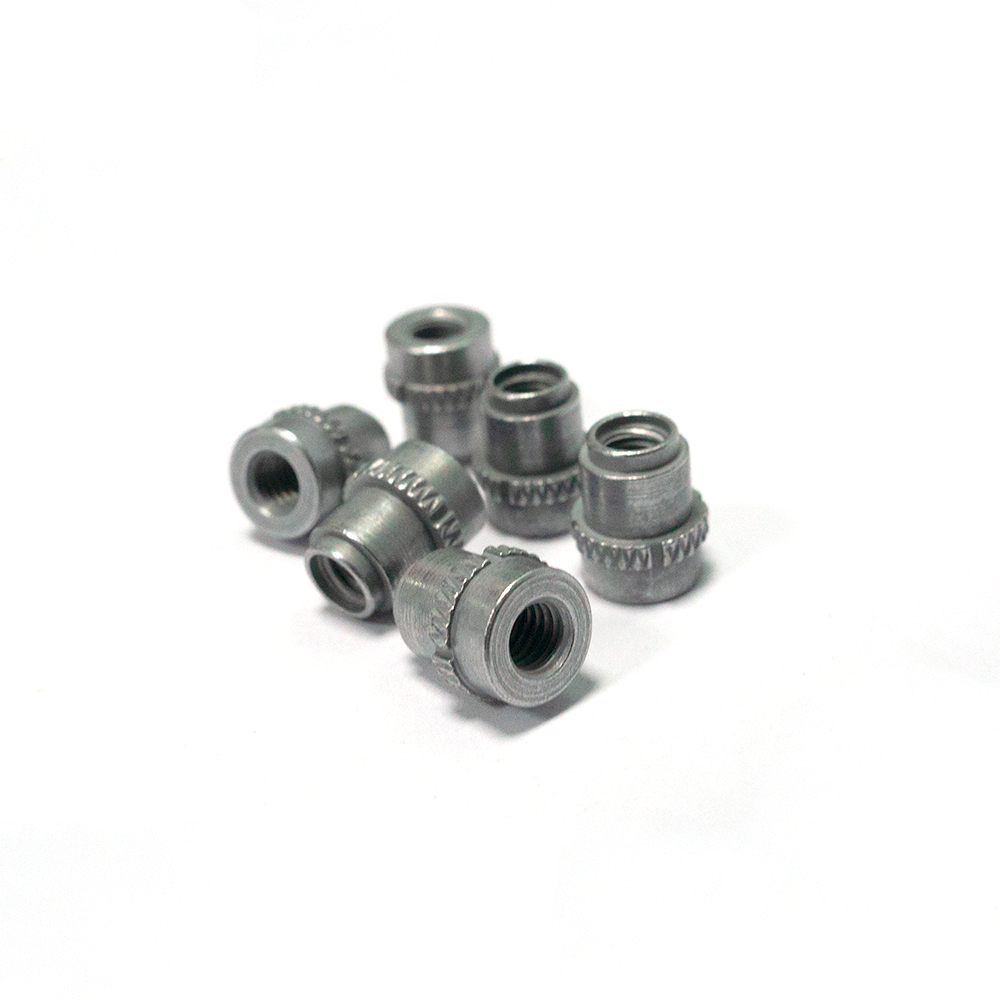
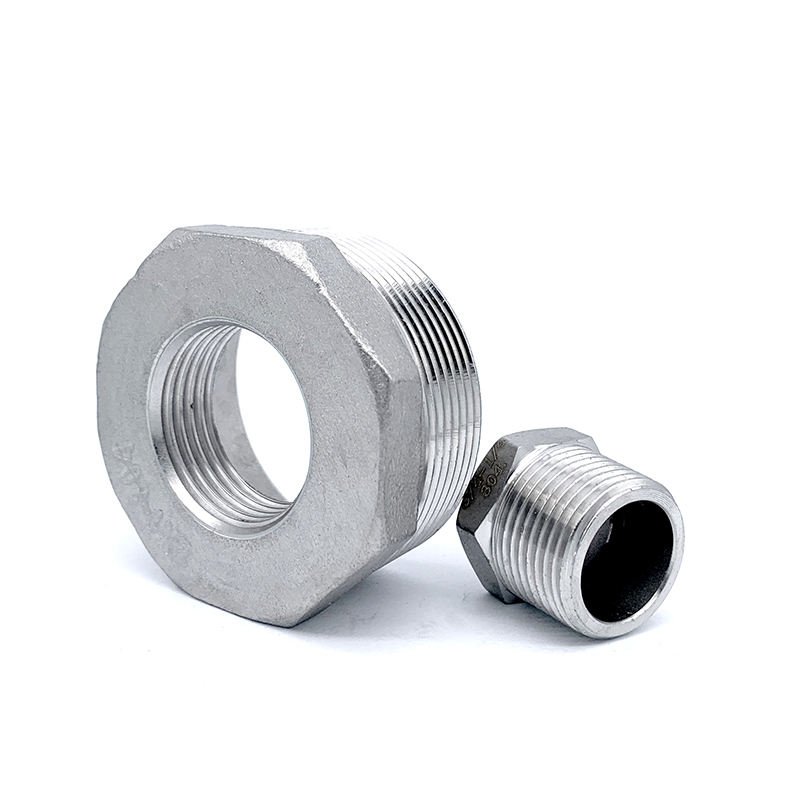
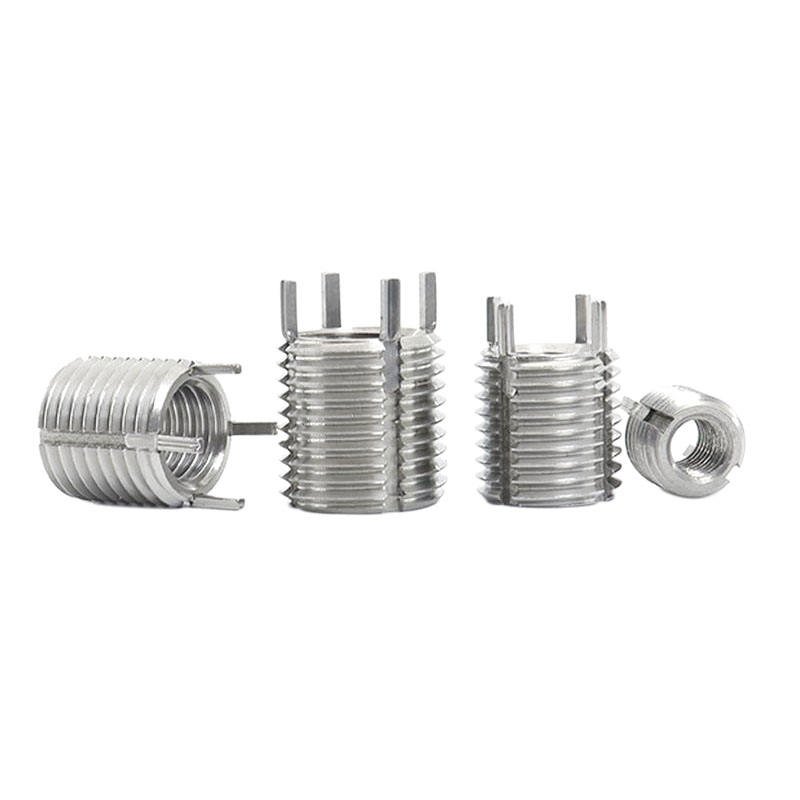
Custom Threaded Bushings
Manufacturer & Supplier
Precision machined threaded components built to your exact print specifications. We specialize in custom thread forms, tight-tolerance classes, and non-standard geometries.

Thread Forms & Standards
We manufacture strictly to your engineering drawings. No standard catalog—only custom solutions.
Metric Threads (M)
Coarse and Fine pitch options. Tolerance classes 6H/6g standard, or precision 4H/4g upon request.
Caution: Specify plating allowance.
Unified Threads (UNC/UNF)
Classes 2A/2B for general fit, 3A/3B for precision/aerospace applications. Special UN/UNS threads available.
Caution: Verify class fit requirements.
Pipe Threads (NPT/BSP)
Tapered or parallel pipe threads for sealing applications. Controlled root/crest truncation for leak-free performance.
Caution: Define sealing method.

Figure 1: Critical thread geometry parameters controlled during CNC machining.
Gauging & Inspection Protocol
Thread quality is non-negotiable. Our EEAT-focused quality assurance process ensures every threaded bushing meets the functional gauging requirements specified.
GO / NO-GO Gauging
100% attribute gauging for thread limits. We verify pitch diameter functionality using calibrated plug and ring gauges.
Thread Profile Verification
Optical comparator checks for root radius, flank angle, and crest truncation to ensure form compliance.
Burr Control
Microscopic inspection of thread starts and exits to ensure no loose burrs interfere with assembly.
Calibration Management
All thread gauges are cycle-counted and calibrated against master setting plugs traceable to national standards.
Why Gauging Matters
Improper thread fit leads to assembly failure, galling, or loss of clamp load. We strictly adhere to:
- ASME B1.1 for Unified Inch Screw Threads
- ISO 965 for Metric General Purpose Threads
- ASME B1.20.1 for Pipe Threads
Engineering Specifications
| Thread Configuration | Internal (Female), External (Male), or both. Left-hand (LH) threads available. |
|---|---|
| Tolerance Class | Per drawing: 1A/1B, 2A/2B, 3A/3B (Inch); 6g/6H, 4g/4H (Metric). |
| Materials | Stainless Steel (303, 304, 316, 17-4PH), Steel (12L14, 4140), Brass, Aluminum, Titanium. |
| Surface Finish | Ra 0.8-1.6µm typical on threads; sealing surfaces up to Ra 0.4µm. |
| Plating & Anodize | We adjust “pre-plate” thread dimensions to accommodate coating thickness (Zinc, Anodize, Nickel). |
| Chamfer / Lead-in | Required 45° or 30° chamfers on both ends to prevent cross-threading and injury. |
| Thread Relief | Undercuts machined to standard or custom width to ensure full thread engagement to shoulder. |
| Inspection Method | Functional Gauging (System 21/22) per ASME B1.3. |

Design Tips to Avoid Failure
Engineering robust threaded connections requires anticipating assembly and load conditions.
Galling (Cold Welding)
Common in Stainless Steel. Prevent by using dissimilar hardness grades or anti-galling coatings (e.g., silver plate, moly).
Cross-Threading
Caused by poor lead-ins. Ensure “Higbee” (blunt start) or proper countersink is specified.
Thin Wall Distortion
Machining threads in thin-walled bushings can cause ovality. Maintain adequate wall thickness relative to thread depth.
Stress Risers
Sharp roots reduce fatigue life. Specify controlled root radius (UNJ/MJ) for high-stress cyclic loads.
Manufacturing Route
CNC Turning / Threading
Single-point threading or rigid tapping on precision lathes. Thread synchronization for specific start points if required.
Deburring & Cleaning
Thermal or mechanical deburring to remove loose thread fragments. Ultrasonic cleaning to remove cutting oils.
Surface Treatment
Plating (Zinc, Nickel) or Anodizing. Post-plate gauging verification.
Final Inspection & Packaging
100% thread check options. Packaged in thread nets or trays to prevent transit damage.

Torque & Assembly Guidance
Note on Torque Values: We do not provide universal torque specifications because clamp load depends heavily on lubrication (K-factor), material pairing, and surface finish.
To support your assembly process, we can provide material tensile strength data and proof load verification for the bushing itself, but final torque settings must be validated in your specific assembly context.
Material Pairing & Engineering Guidance
Dissimilar Materials
Avoid pairing identical materials (e.g., SS 304 Bolt + SS 304 Bushing) without lubrication, as this promotes galling. We recommend hardness differentials of at least 50 HB.
Anti-Seize & Coatings
For stainless steel or titanium threads, we strongly recommend specifying dry film lubricants (DFL) or silver plating on the bushing to ensure repeatable assembly.
Get Your Custom Threaded Bushings Quote
Please send your drawing including thread callout, class/tolerance, and mating part info.
Frequently Asked Questions
What thread classes can you manufacture?
We machine to all standard classes: 1A/1B, 2A/2B, 3A/3B for unified threads, and 6g/6H, 4g/4H for metric. Custom limits are also possible.
How do you verify thread quality?
We use calibrated GO/NO-GO plug and ring gauges (System 21) as standard. System 22 (pitch diameter measurement) is available upon request.
Does plating affect the thread fit?
Yes. We machine threads “pre-plate” (undersized/oversized) to account for the coating thickness so the final part gauges correctly after plating.
Why is a lead-in chamfer important?
A proper chamfer helps align the mating part, prevents cross-threading during assembly, and removes sharp burrs that could cut into mating surfaces.
What is thread relief?
Thread relief is an undercut groove at the end of the thread that allows the mating part to screw on fully flush against the shoulder.
Can you make left-hand threads?
Yes, we can manufacture left-hand (LH) threads in any pitch or diameter specified on your drawing.
What materials do you machine?
We work with all common metals including Stainless Steel (303, 316, 17-4PH), Carbon Steel, Brass, Aluminum, and Titanium.
What is the lead time?
Standard lead time is 2-3 weeks. Expedited services are available depending on material stock and machine capacity.
Is there a Minimum Order Quantity (MOQ)?
We optimize for batch production (50-1000+ pcs) but can handle prototype runs. Higher quantities significantly reduce unit cost.
What inspections do you perform?
Visual inspection for burrs and surface finish, plus dimensional inspection of threads, OD, length, and concentricity.
RFQ Checklist: What We Need
- Thread Callout (e.g., M10x1.5-6H)
- Material Specification
- Plating/Finish Requirements
- Quantity Required
- 2D PDF Drawing (with tolerances)
- Mating Part Info (Optional but helpful)
Contact Us
Ready to quote? Send us your prints. We respond to all inquiries within 24 hours.
Our Location
Rongli Industrial Park, Dalang
Longhua District, Shenzhen, China
